Files preparation
Find all the answers.
1. Step one
Uploading file
File work module
The file work module is an advanced tool for uploading graphic projects, that prioritizes user satisfaction. It allows intuitive and fast file uploads, as well as previewing them in both 2D and 3D views.
It allows you to check details such as bleeds, orientation, or page order. Thanks to automatic warnings about potential errors, it enables quick verification of files before approval.
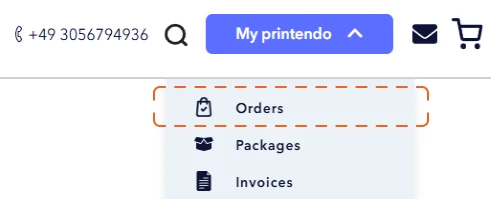
To upload files for the order, go to the „File Management” tab.

The tab is visible in the Orders panel.
If preferred, you can send files via email, sending them to following address:
info@printendo.com
File preparation instructions
If you want to check if your file is properly prepared, you can find the „File Preparation Instructions for Printing” at the top of the panel.

Multi-design order
The application allows you to verify multiple designs at the same time. Tabs for each design are located at the top of the panel. Depending on the number of designs ordered, the view will change.
Multiple designs – buttons will be visible. Number of buttons equals the number of designs.

In the case of a single design, the panel will not be visible.
If your order includes several different designs, each one requires a separate assignment of graphics and submission for verification.
- Select the first design from the list and assign the appropriate graphic to it.
- Submit the graphic for verification using the available option.
- Proceed to the next design and assign the next graphic.
- Repeat the process of uploading and verification for all the designs in the order.
- After uploading the files for all designs, make sure that all of them have been correctly assigned and verified.
Possible statuses:
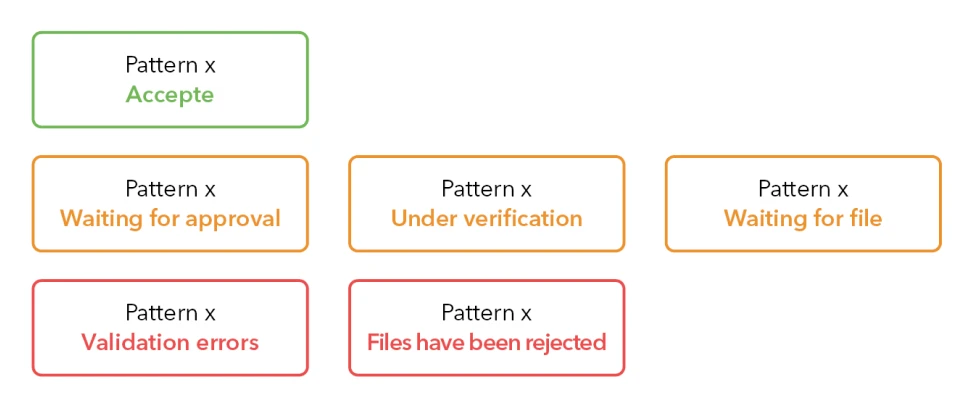
Statuses in the design panel and their meanings
- Accepted – The files have been verified and approved for printing. No further actions are required.
- Waiting for approval – The files have passed verification and are awaiting your approval. Check the preview and confirm the acceptance.
- Under verification – The files are currently being checked by the system or the print team. Please wait for the verification result.
- Waiting for files – No files have been assigned to this design. Please upload the appropriate graphic to proceed.
- Validation errors – A technical issue occurred with the files. Please upload the files again.
- Files have been rejected – Errors were detected in the files. Check the details, correct the design according to the provided guidelines, and then upload the correct files.
Uploading files from a computer
Acceptable file formats in the application are PDF, JPG, and TIF.
We can use the „drag and drop” option by dragging the file into the designated area or click the same area to select a file from the computer.

A preview thumbnail will be automatically generated for the uploaded file.
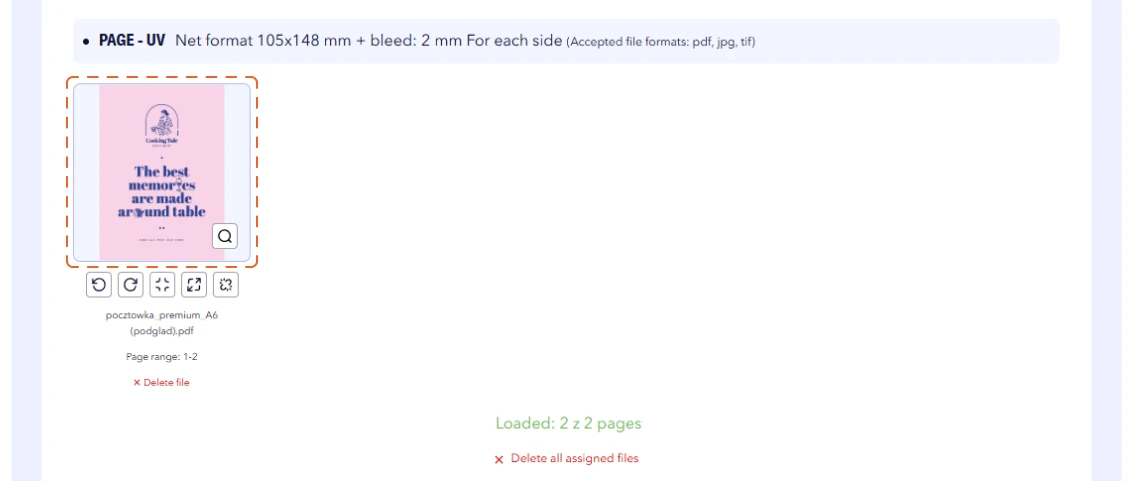
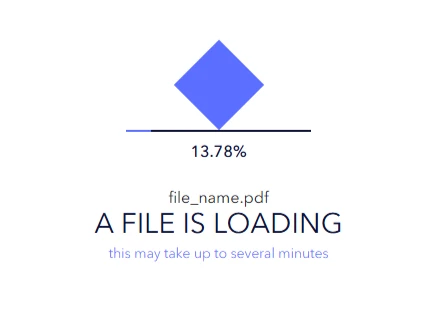
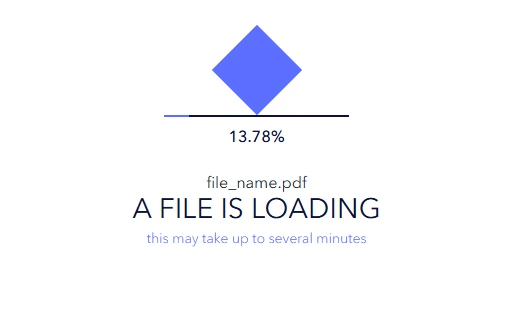
During file upload, the percentage progress along with the file name is displayed.
In the case of a multi-pattern order, there is an option to switch between patterns, regardless of the pattern’s status.
File Management
The application offers full flexibility and control over the project. Whether you want to zoom in on details, adjust the format,
or change the page order, a variety of features are at your disposal.

Zooming in on the file preview
Check every detail. The zoom feature allows you to quickly enlarge files so you can carefully review the project details.


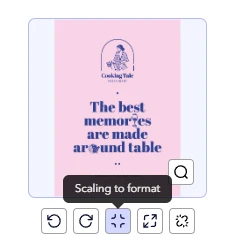
Scaling to format
A feature that automatically adjusts the project size to the selected print format while maintaining its proportions.
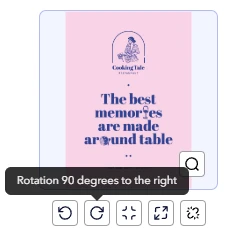
Rotating the file
Adjust the file orientation to suit your needs. Rotate the file 90 degrees to the left or right to perfectly align the project with your requirements. Important! Pages in the verifier and during assembly always rotate along the right edge. Make sure that the page orientation in the preview matches the layout shown in the mockup and the product preparation instructions.
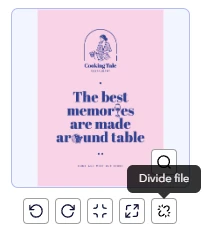
Splitting files (available only for PDF files)
Easily split your files! The PDF splitting feature allows you to conveniently separate individual pages, speeding up your work on the project. The split files can be deleted, reordered, and moved between project components, giving you full control over the layout and organization of your work.
Adding bleed to the work
Adding bleed is a feature that expands the artwork with a mirrored reflection to fill the missing bleed area. This ensures that if there are any slight shifts during cutting, no white borders will appear on the final product. Important! To avoid a white border on the cut, the artwork must be precisely extended to the net format.

Changing the order of files
The application allows you to manage the project layout. Simply drag the files to change their order and place each element in a different
or appropriate position.

Moving files between components
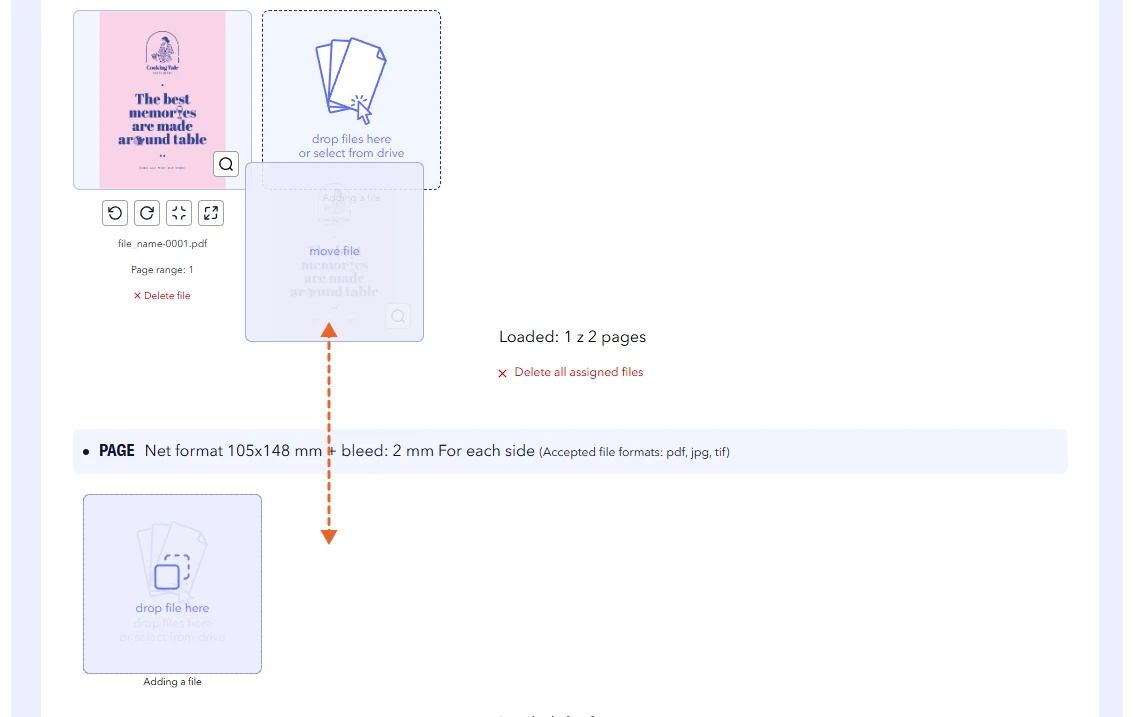
The feature allows you to move files between project components. Simply drag the file from one component to another to adjust the files to the project. When moving files, pay attention to the file name and page range.
2. Step two
File verification
After uploading the files and setting the page order, you can proceed to the file verification stage.
Status of uploaded files
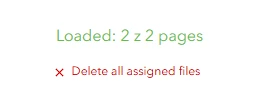
If all pages are not filled or there are extra pages, the verification cannot be started. The status of uploaded pages for the files is displayed directly in the panel.
Starting the file verification process
After filling the pages with files, you need to click the „Submit for verification” button.

Once the file verification process is started, a progress bar will appear indicating the current status.
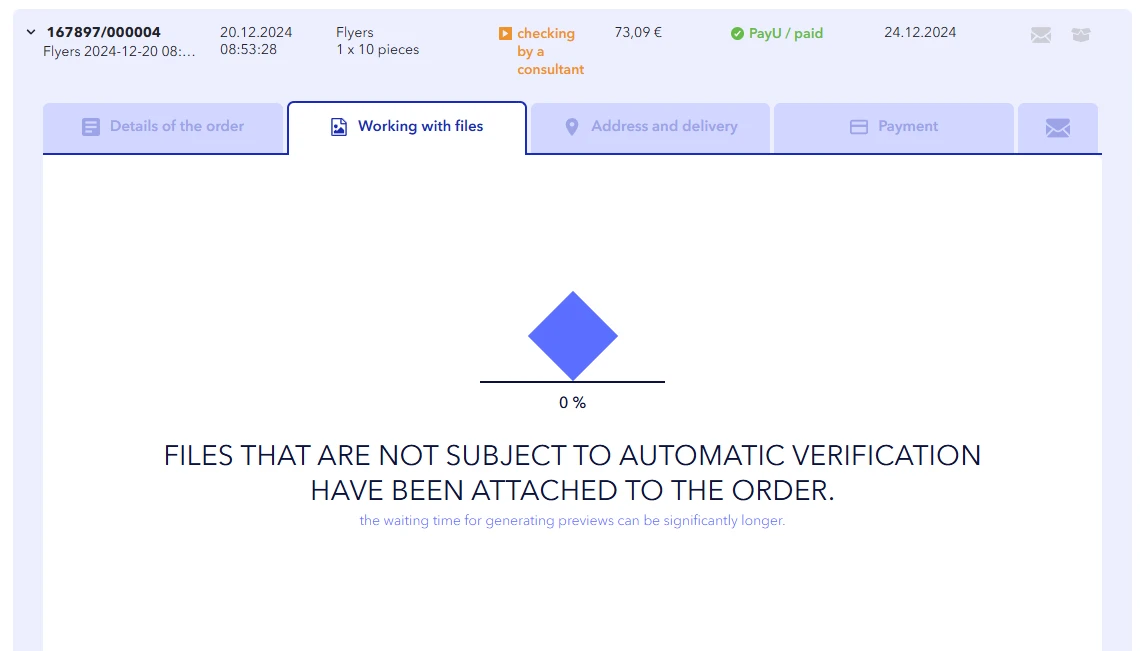
If you select the „File check by consultant” option, a message will appear informing you that the verification process has started. The duration of the verification depends on the complexity of the submitted files. Please be patient and await feedback from the graphic department.
3. Step three
Acceptance
The completion of the verification opens the 2D and 3D view windows, as well as the file verification report.
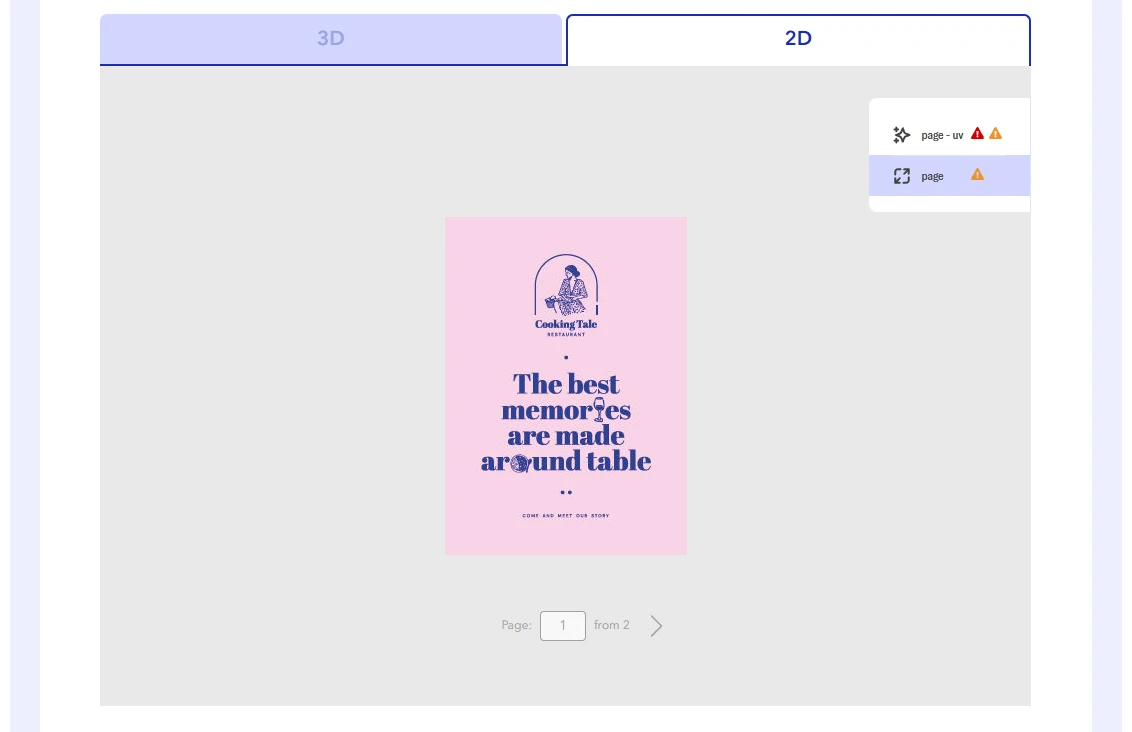
2D view
In the 2D view, the user can review the project broken down into components, checking the layout and arrangement of elements. The preview automatically shows cutting, folding, scoring, and perforation lines, facilitating the verification process. Keep in mind that the pages will be printed according to the visible orientation, and the project rotation occurs relative to the right edge of the front side.
3D view
The 3D view allows you to see the entire project with a realistic visualization of enhancements such as UV effects and 3D foil. The project can be rotated in any direction using the mouse, enabling a detailed examination of all aspects from every perspective.
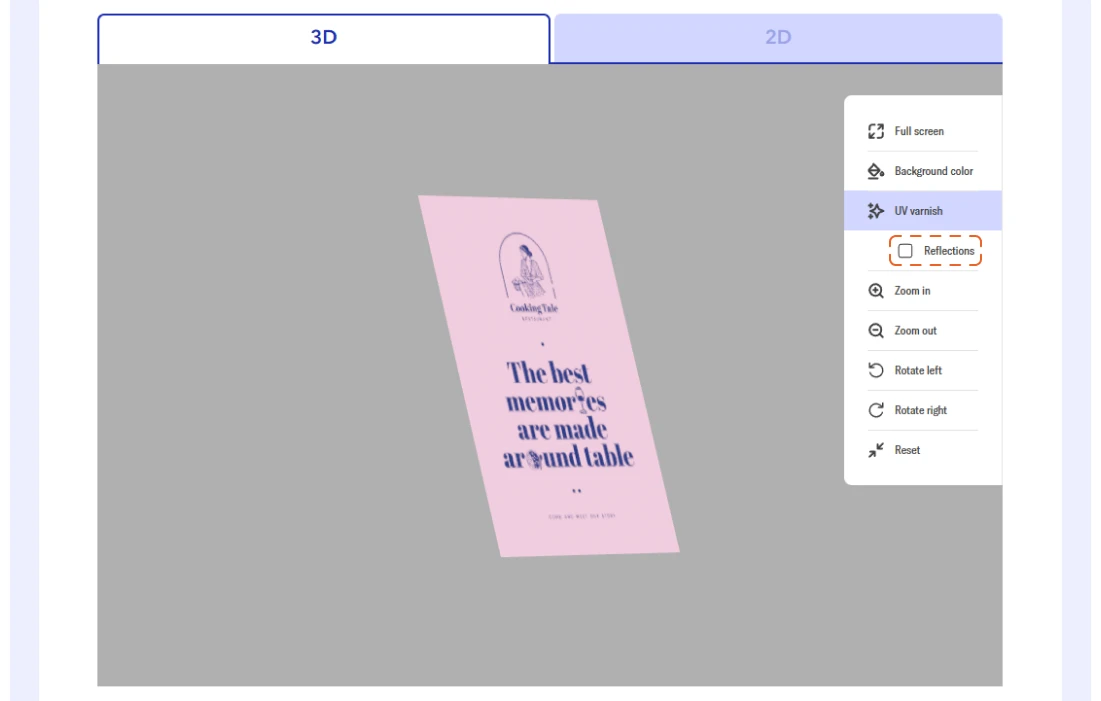
The reflections option shows how selected elements reflect light, making it easier to assess and refine the details.
Preflight verification report
The report is divided into three types of messages:
- Errors – prevent acceptance and require uploading corrected files.
- Warnings – highlight elements that may cause unexpected changes after printing. They may also inform you about what has been automatically corrected in the project.
- Additional information – other corrections made to the file and notifications related to the project.
Important! The report is not a file after system verification.
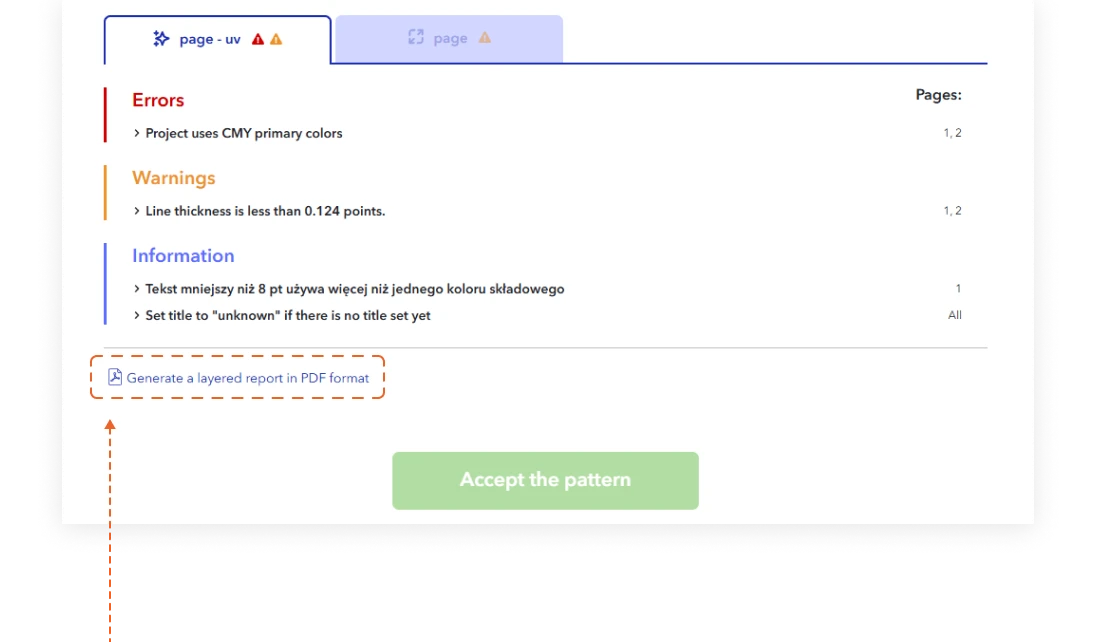
Error report in PDF format
It is possible to download a layered PDF file, where errors (in the case of low-resolution elements) or some warnings are placed on separate layers.
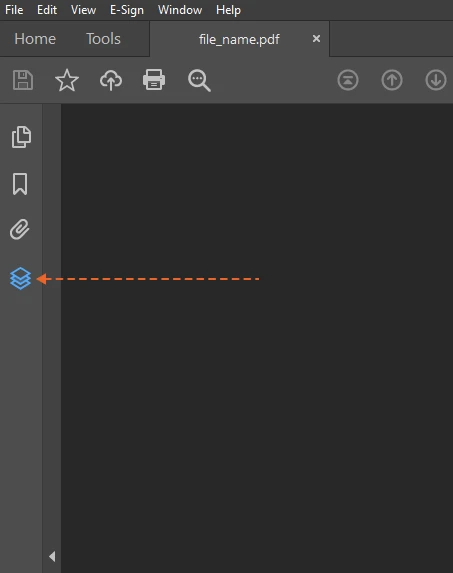
To view the layers in the PDF file, the report should be downloaded to your disk and opened in a program such as Acrobat Pro or the free Acrobat Reader. Opening it in any other way (e.g., through a browser) will prevent the layers from being displayed in the report.
To view the layers in the PDF file, the report should be downloaded to your disk and opened in a program such as Acrobat Pro or the free Acrobat Reader. Opening it in any other way (e.g., through a browser) will prevent the layers from being displayed in the report.
„Download preview” button
Before acceptance, it is possible to download preview files. The preview materials are compressed JPG files saved in the RGB color space.
Preview files in JPG format should not be used as the basis for assessing color differences or the quality of the submitted print material.
These files are used solely to provide a preview of the project in the file verification system.

Reject or upload new files
Before accepting the files, you have the option to correct them by clicking the reject or return button to upload the corrected files.
Pause order
If your order has been paused, you need to re-upload the files and accept the design. The information about resuming the order should be sent in the order’s comment.
Acceptance
Order acceptance is done by clicking the „Accept project” button.
Important! After accepting the files, further uploads are not possible. If changes are necessary, please contact Customer Service or the graphic department via chat, order comment, phone, or email. Additional information can also be provided in the order comment.
Important! After accepting the files, further uploads are not possible. If changes are necessary, please contact Customer Service or the graphic department via chat, order comment, phone, or email. Additional information can also be provided in the order comment.
We hope that using our service will be intuitive and enjoyable for you, and that our solutions will make your project execution easier.
Thank you for being with us and choosing Printendo!